Corrina Ottoman

This Ottoman/Large coffee table followed the same process as a dinning chair seat, but on a much larger scale. Once webbed, canvased I stitched hessian to the base leaving enough space around the edge to create the role and hold a large cushion in place.

Once I had created a firm role with several rows of stitching the piece was covered in canvas until the top cover had been chosen by the customer.

This piece was named the Corrina Ottoman and is now happily at home in the USA.


Welcome

The Little Upholsterer - furniture restoration and upholstery by The Little Upholsterer, Suffolk

Upholsterer Suffolk

Welcome to The Little Upholsterer. I am based in Peasenhall, Suffolk and have a little shop on the high street here just near Emmetts Store. This site is about about my ideas, future work and establishing myself as a traditional upholsterer. Please feel free to browse the site (it’s still under construction), email me with any enquiries or pop down to see me at the shop. I can give you a quote for any upholstery work, furniture repairs or restoration you need doing.

louis xv style chair

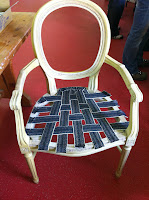
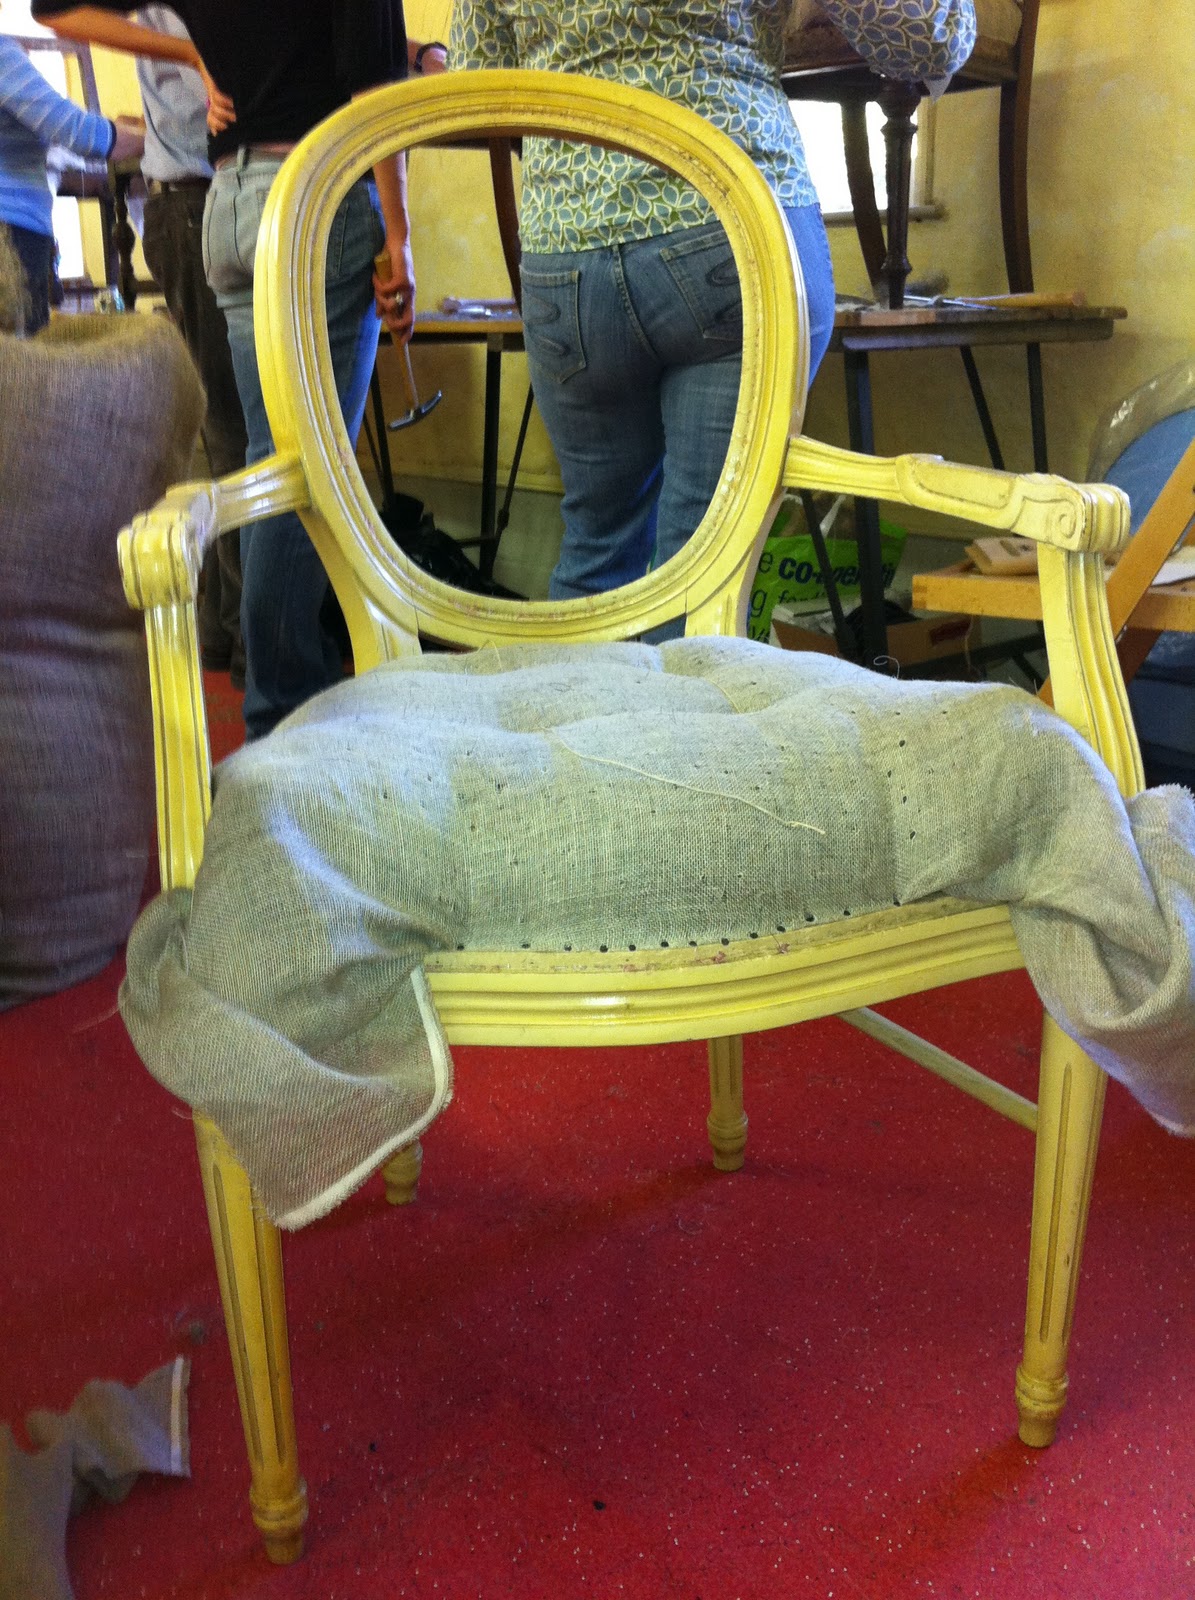
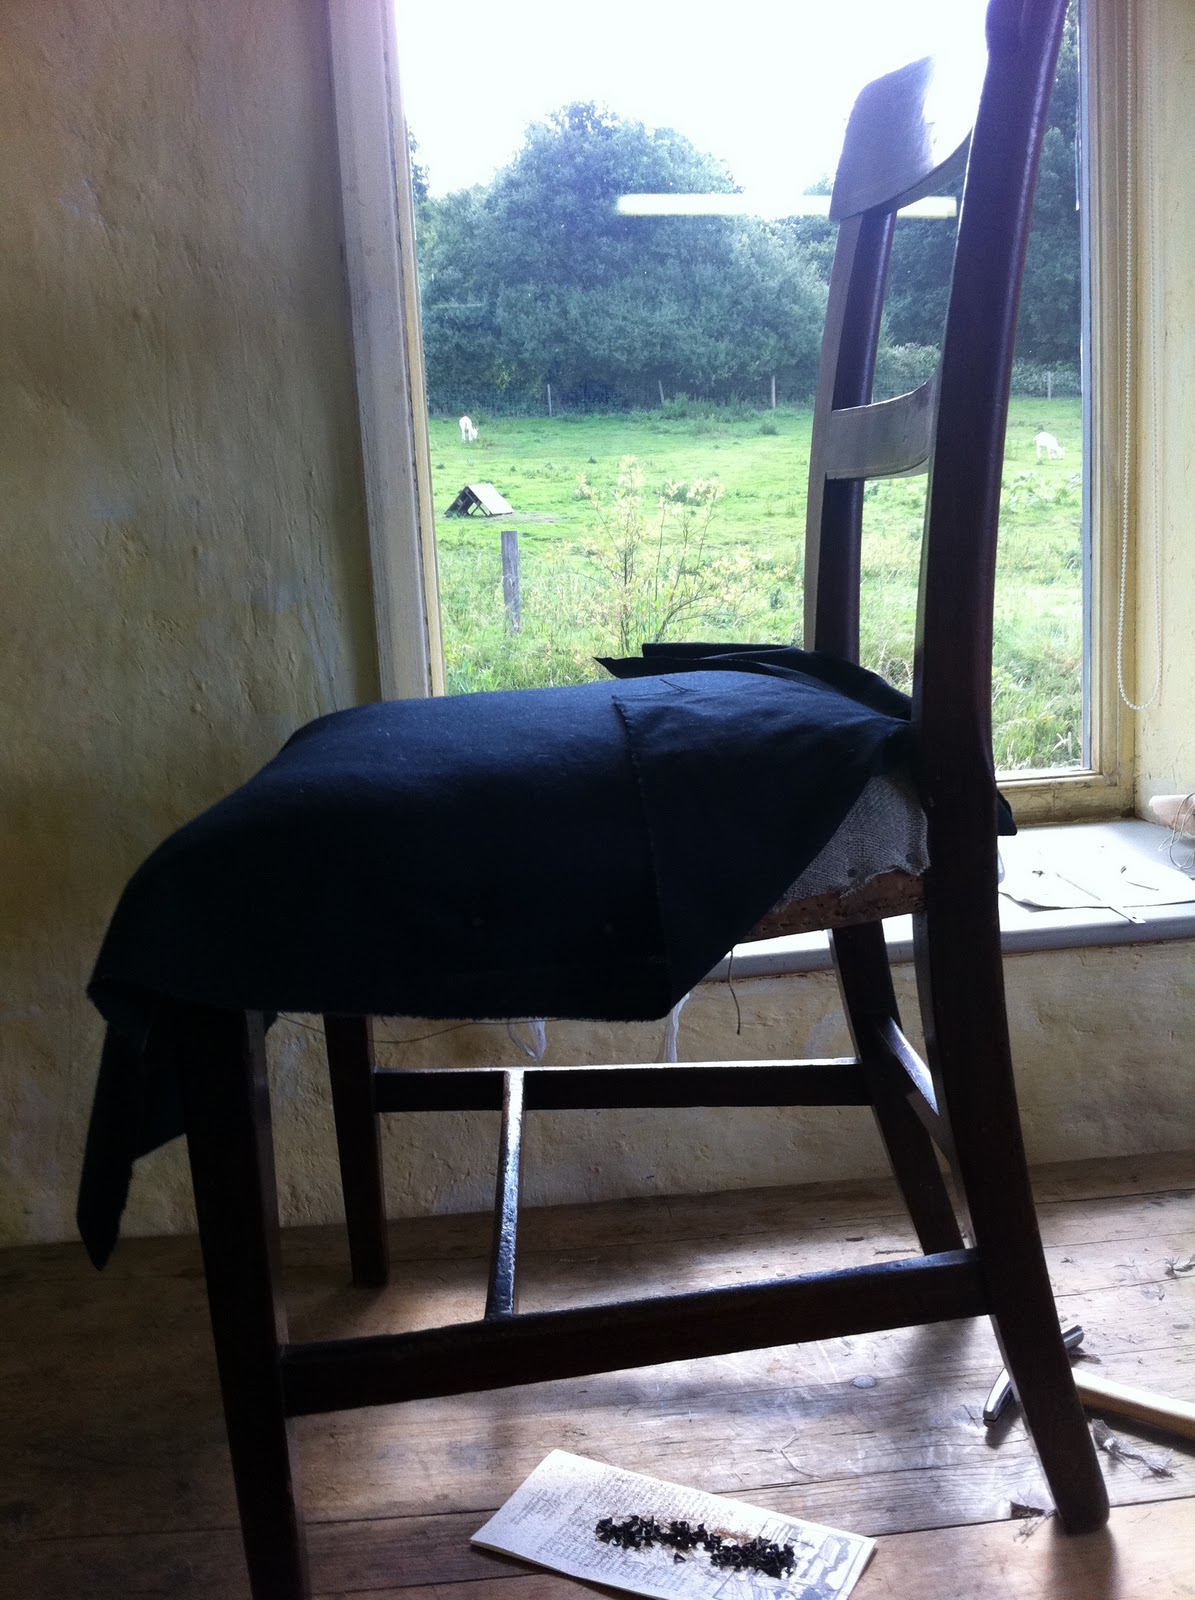
One of 4 Louis vx style chairs to upholster. The modern upholstery (foam and rubber) was removed. Extremely hard wood to work with.

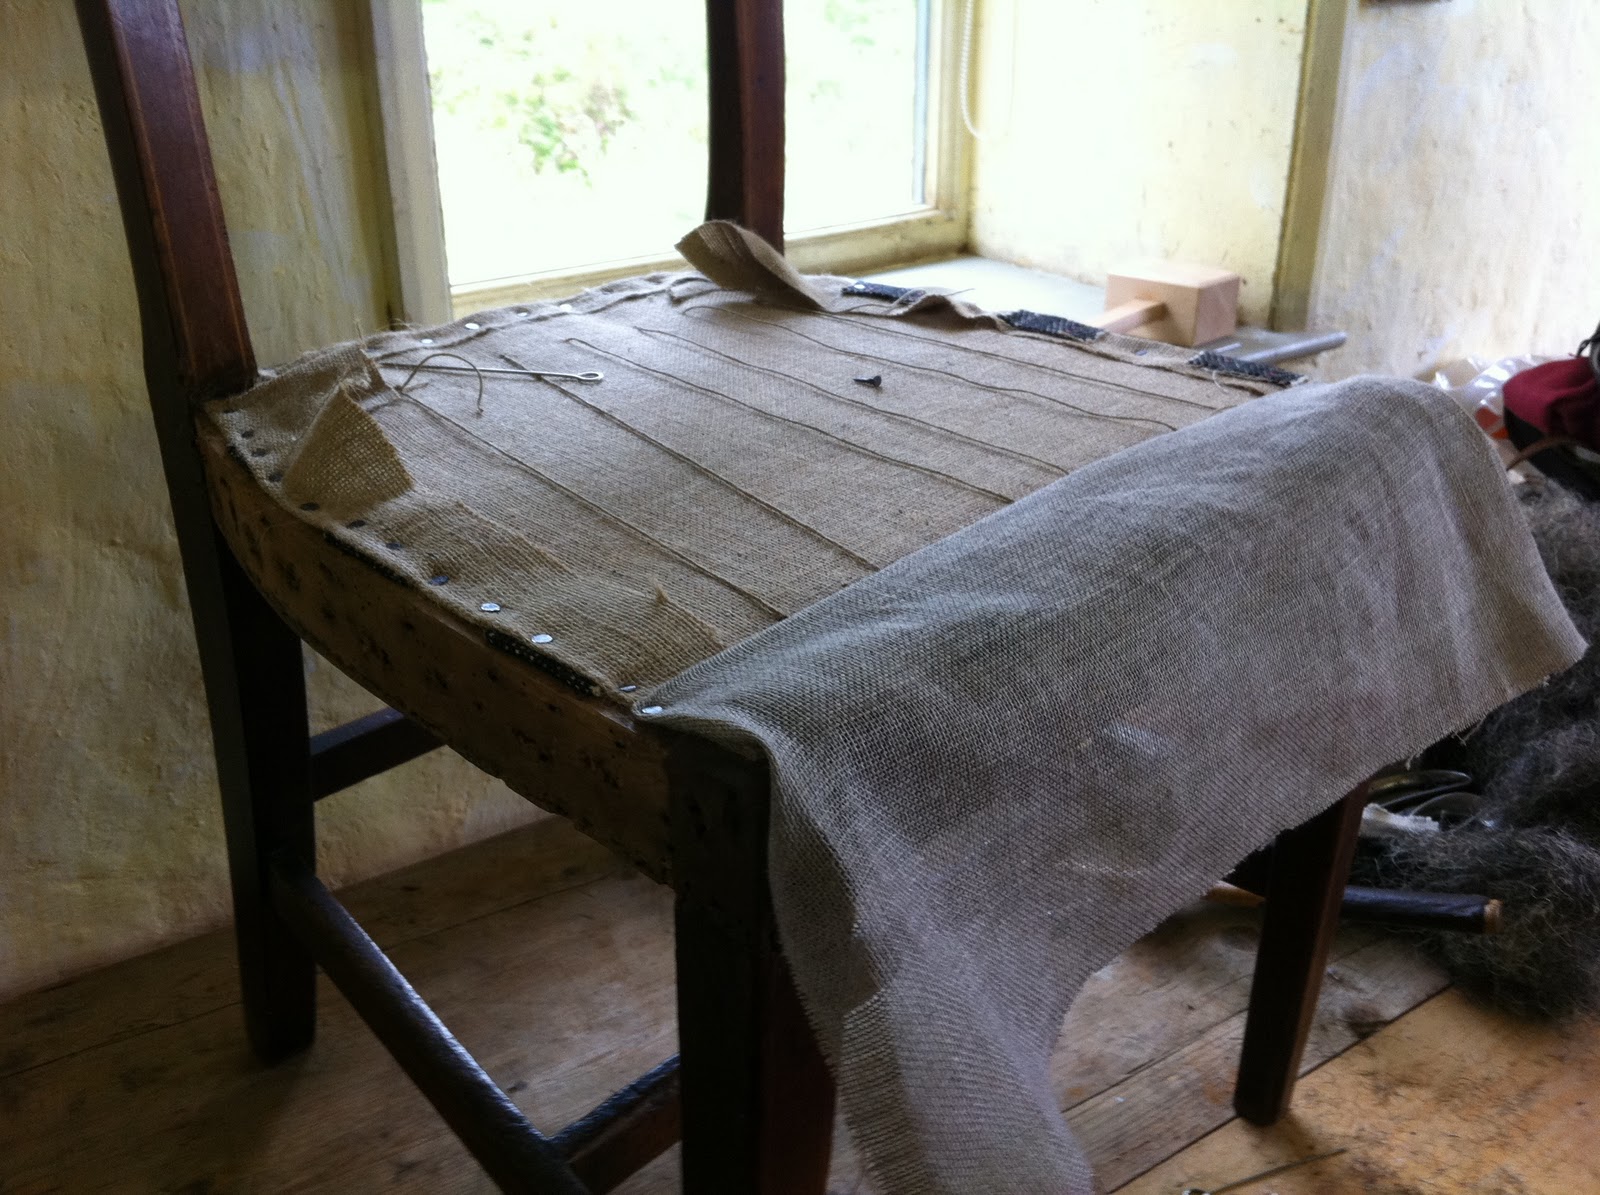
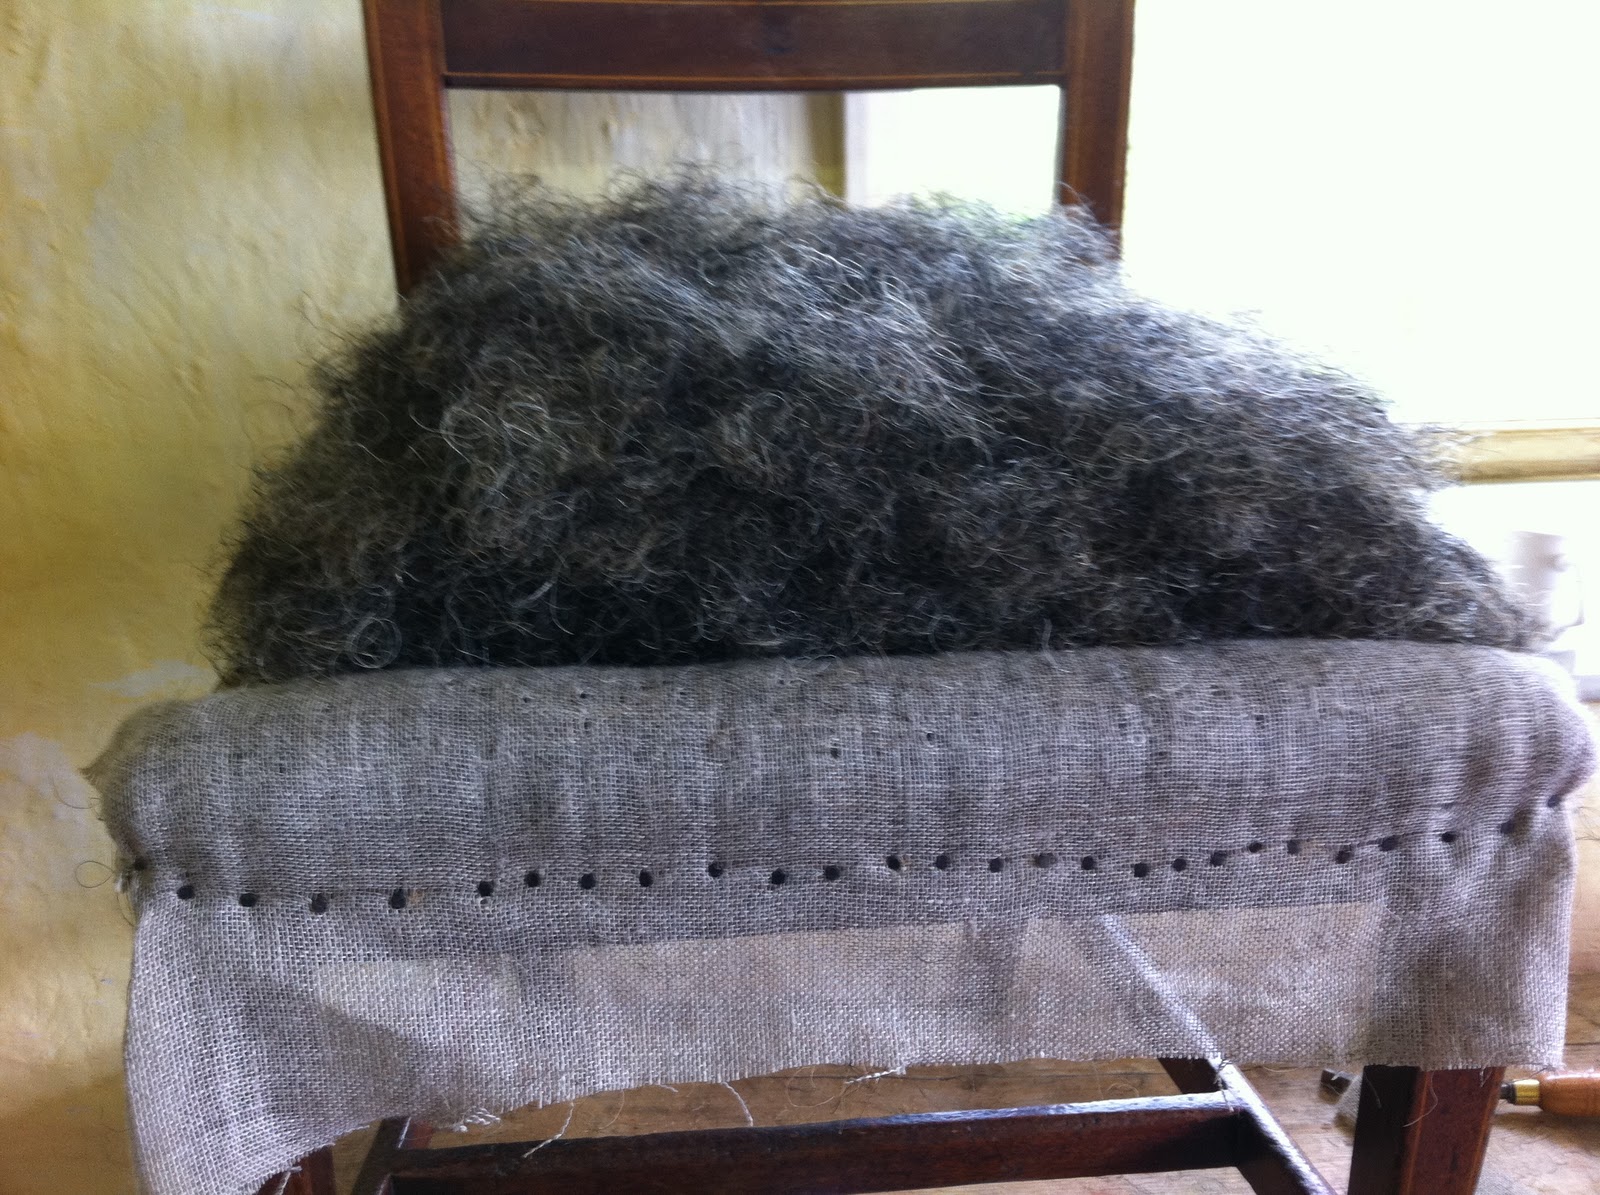
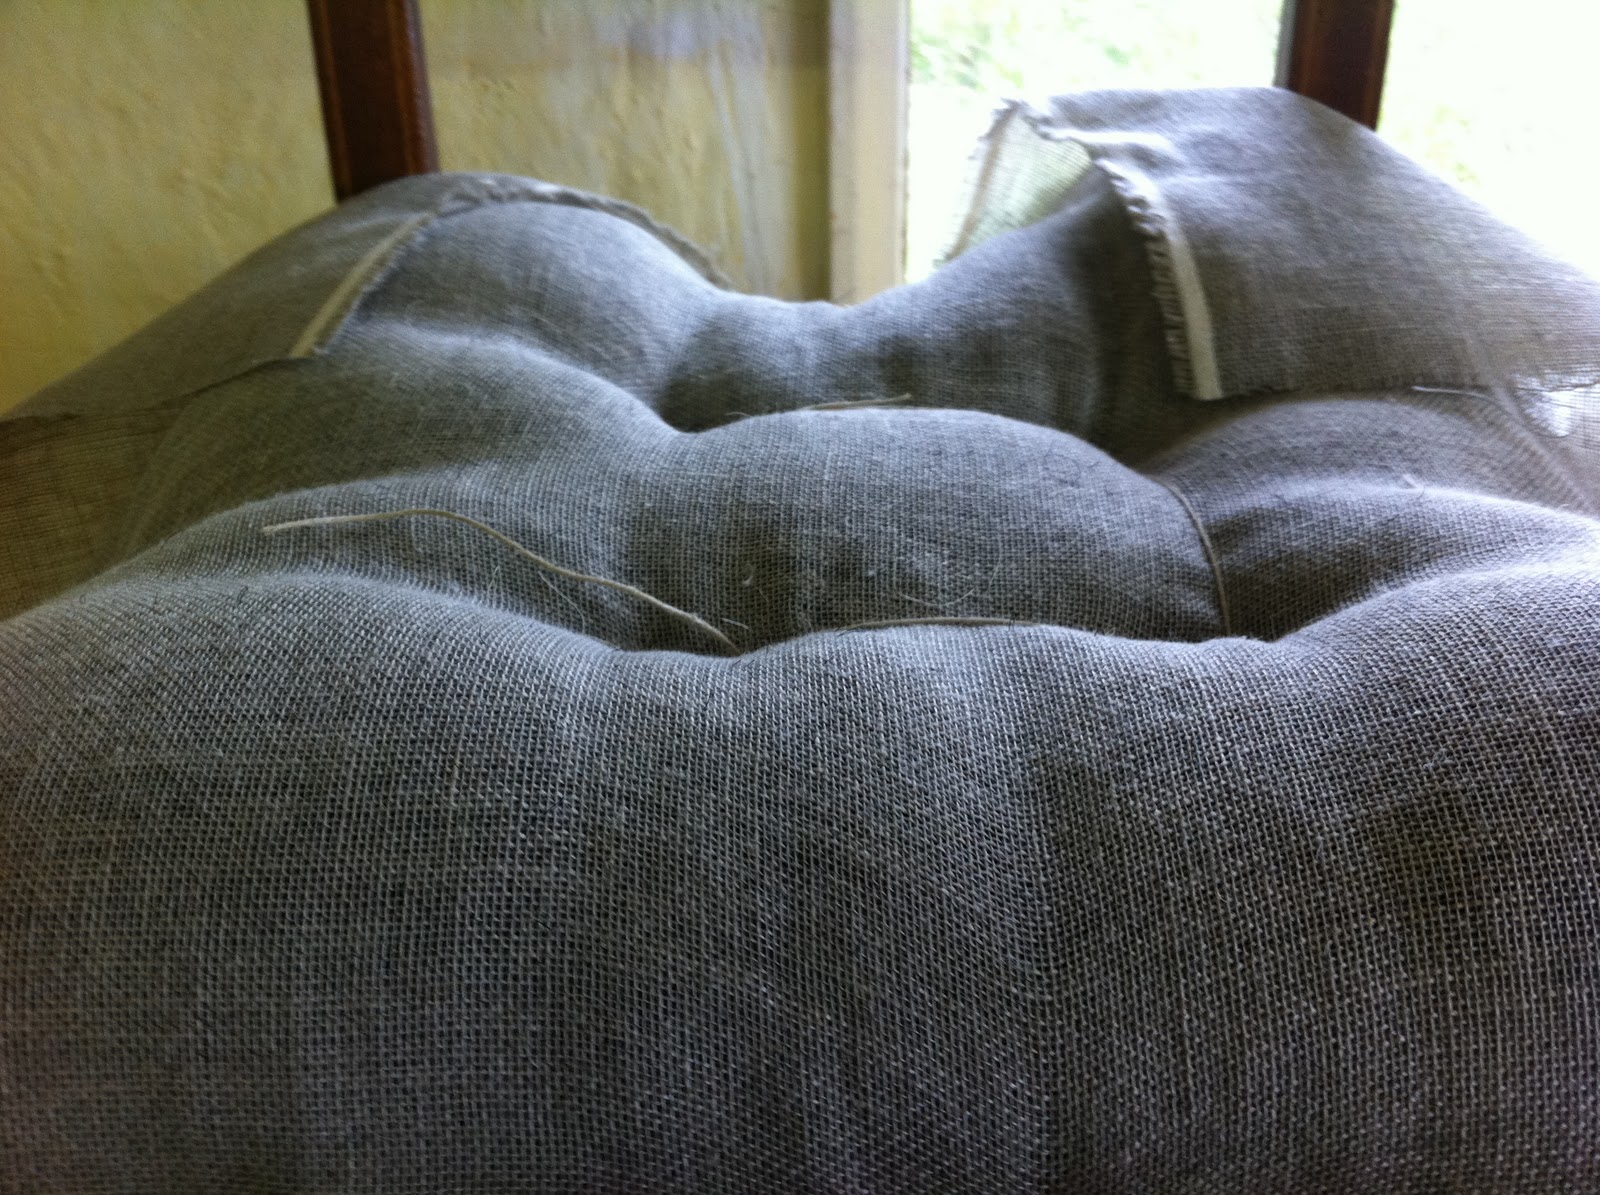
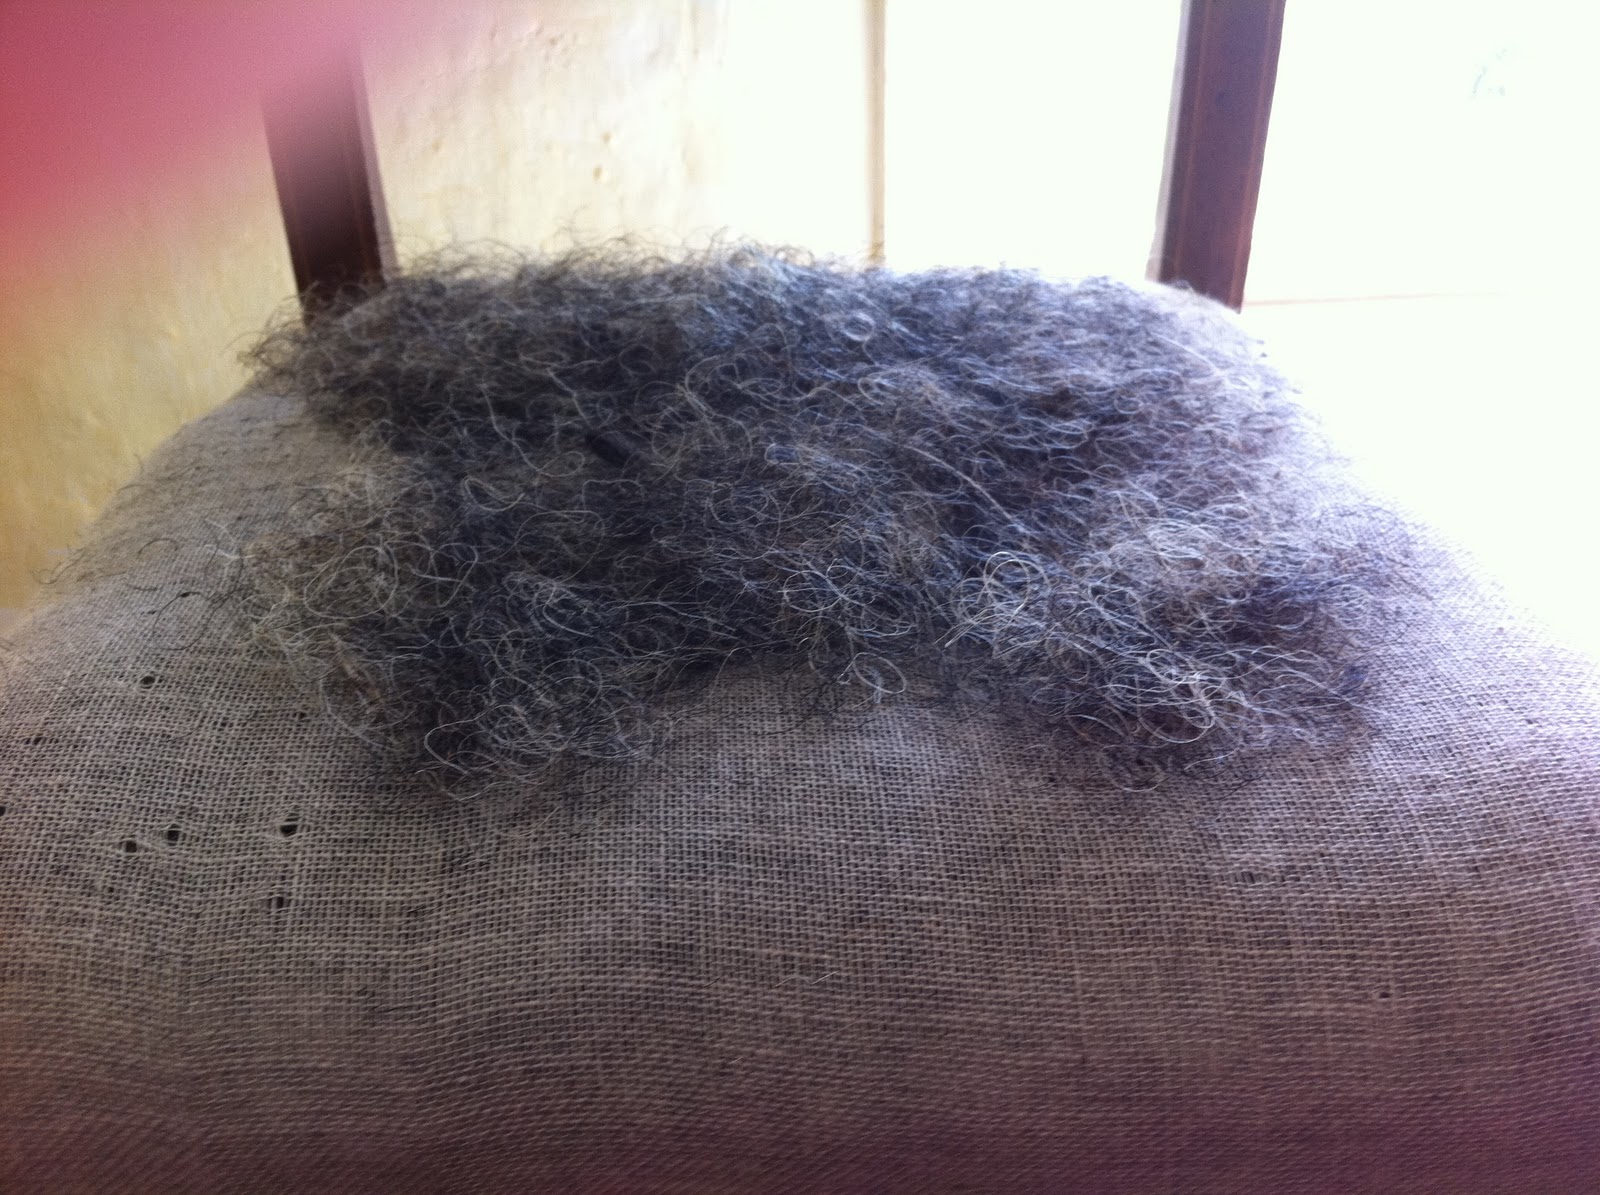
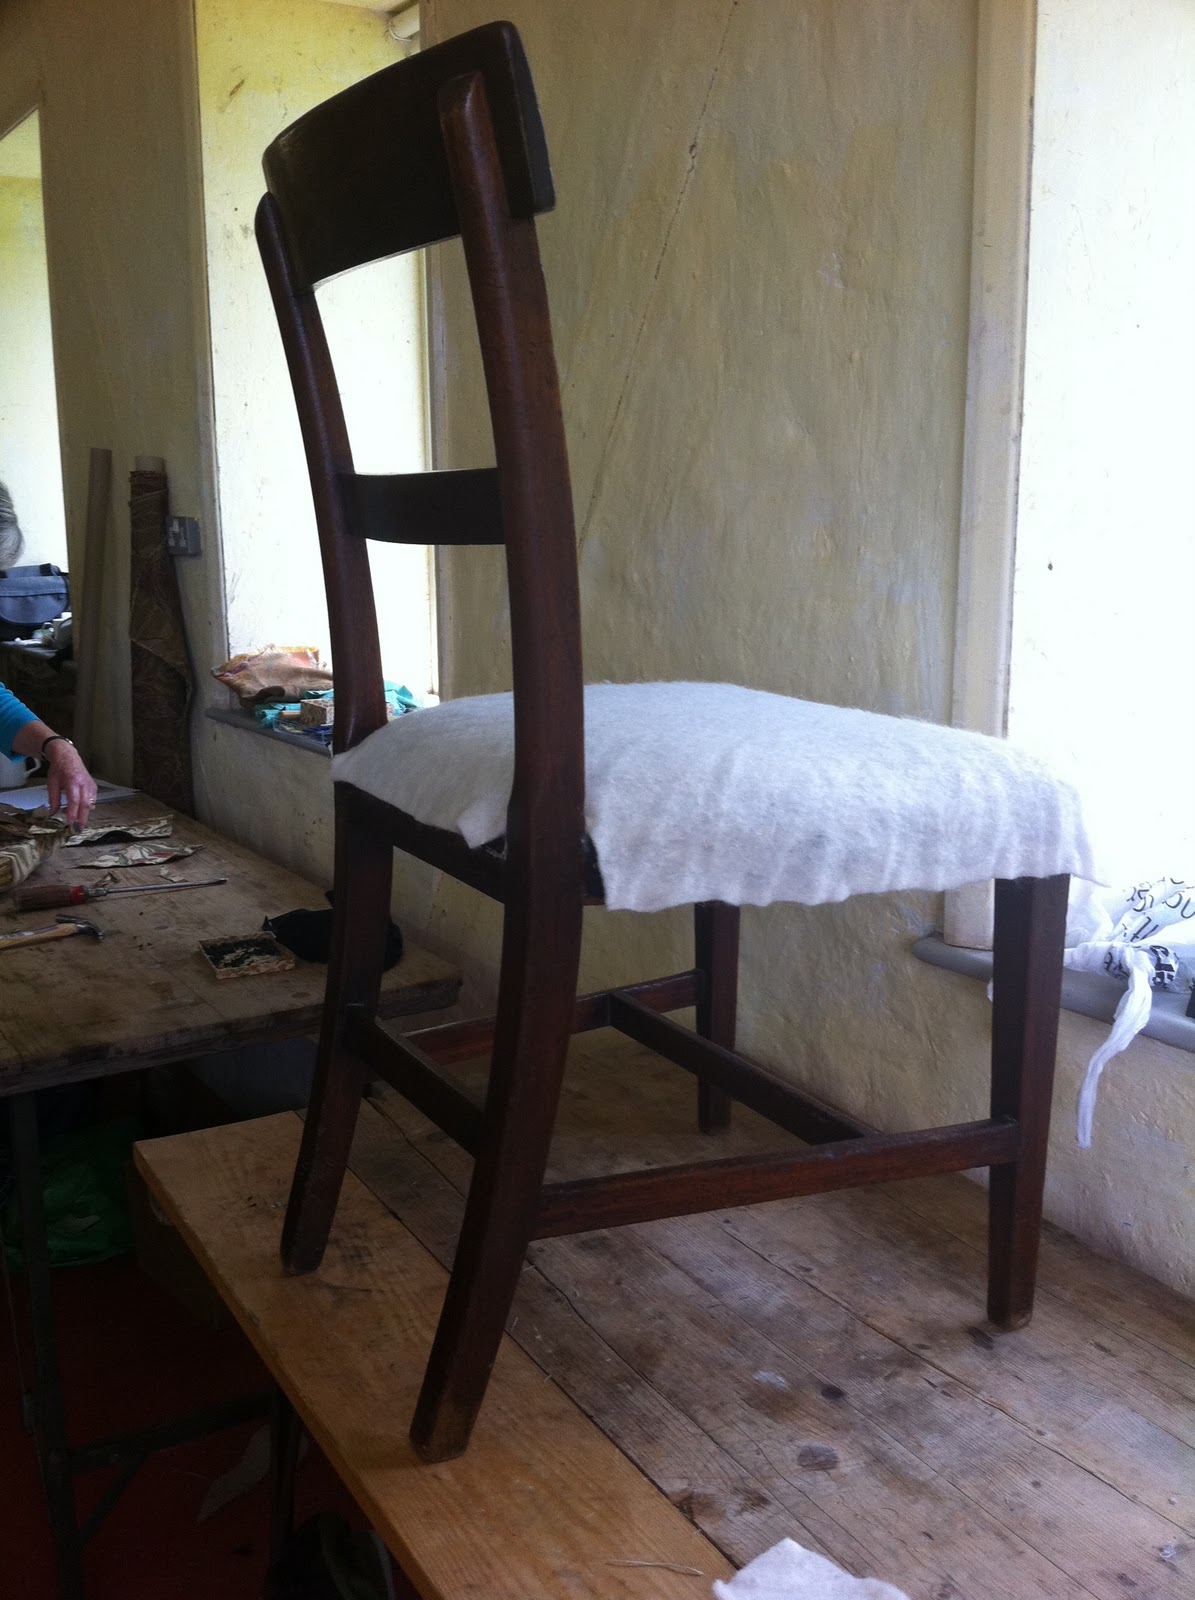
Once the webbing, base hessian, hair and scrim were added and regulated to start to form the seat rolls were created around the edge. To start with a blind stitch is used to pull the hair towards the sides of the seats then another stitch, the top stitch, is used to create the roll.
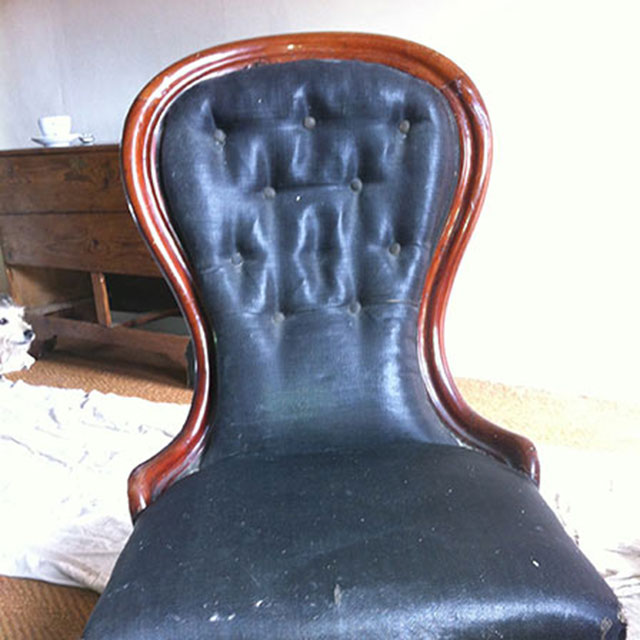
Corners – I found the corners very difficult on the the back of this piece because of its shape. A small v was cut either side of the back piece and then tucked around the seat.
The arm uses exactly the same process as the seat.

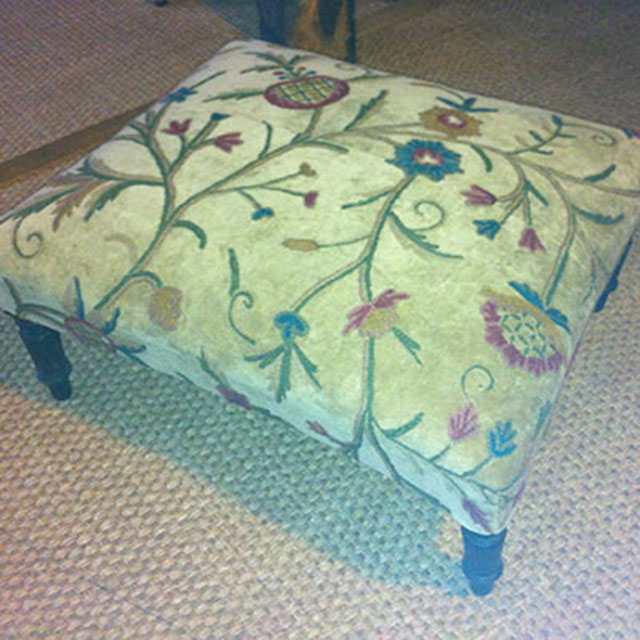
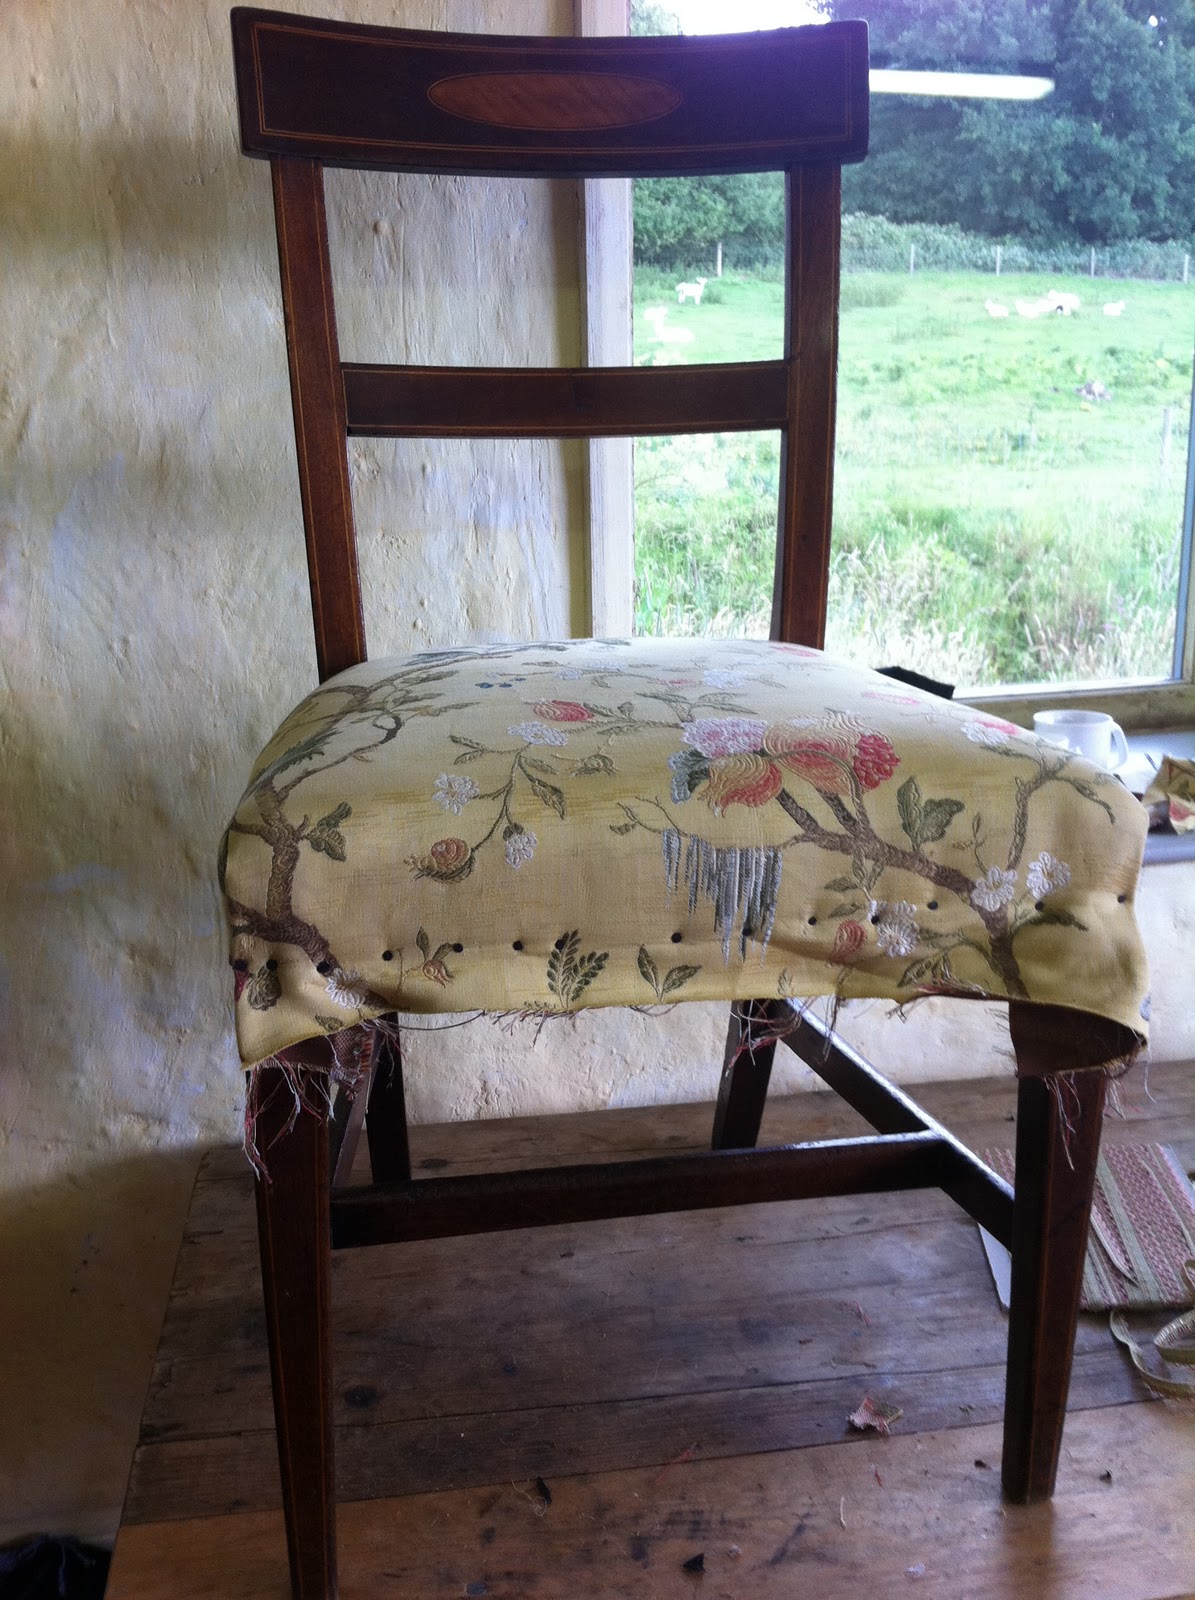
Once I had the the hessian on, and the seat formed I covered the piece in Calico and then skin wadding before adding the top fabric. I started with the back of the char which also needed to be covered as it was an open backed chair.  I tacked the back fabric on trying to centre the main design and then stapled the fabric on, I then add fleece to pad out the back followed by calico and then the top fabric but turning the fabric under before securing it.
 
Once I had the back pieces on I tackled the seat. I tried to centre the fabric again matching it to the back design and I had to make four cuts to the seat fabric – two at the front and two at the back. The back to cuts where particularly challenging to do. I had several attempts at this!

First piece June 2011

Regency Dining Chair - furniture restoration by The Little Upholsterer, Suffolk
This is a Regency Dining Chair, which was given to me by a friend to upholster.
I stripped it down, and took it to a two-day course at Assington Mill
This was a lovely piece to start with – great straight lines.
webbing and leanring to use the webbing stretcher…how many times did i thread it up wrong!
adding the base hessian and bridle ties…and perfecting the slip knot.

Only one roll was created along the front of the chair to create the sharpe lines associated with this style of chair.

Once the roll was created the seat is created. A series of stiches hold the animal hair in place.


scrim material, stuffing ties, regulating and finishing the corners


ensuring a smooth seat
adding a piece of felt…
adding the cotton and sheet wadding…

Always one to recycle material this piece of French silk was the perfect fit for this chair – well just, but there was no room for error…

The finshed piece.